

Mice have a knack for infiltrating our homes, often leaving a troublesome trail of droppings, urine, and potential health risks. Whether you’ve had a recent run-in with these pesky rodents or seek to proactively safeguard your space, mastering the art of cleaning up after mice is essential and easy!
In this comprehensive guide, we’ll lead you through each step, guaranteeing that your dwelling is not just devoid of mice but also a safe and hygienic haven.
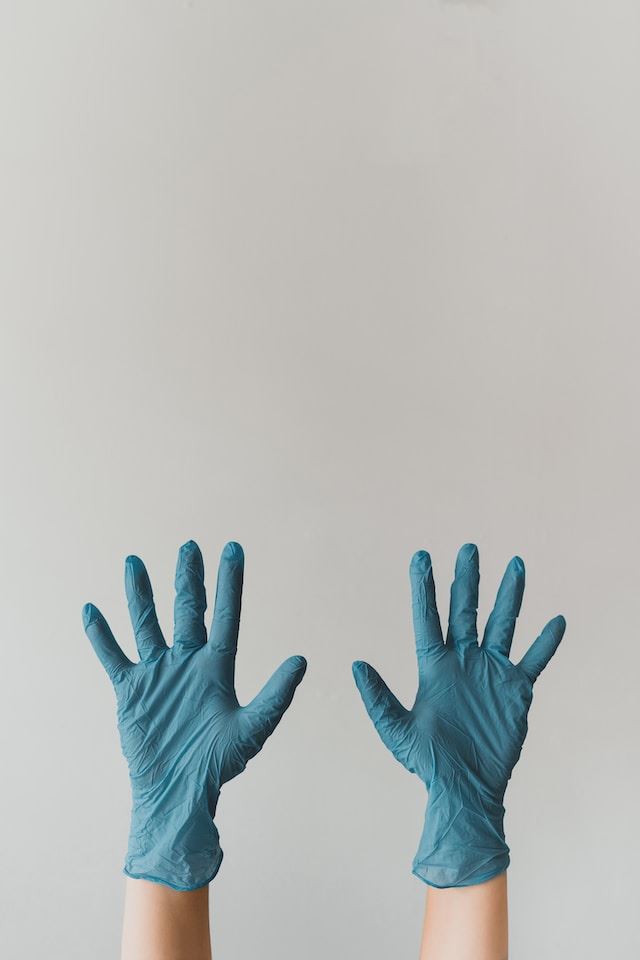
Step One: Safety First
Before diving into cleaning up after mice, it’s crucial to prioritize safety. Mice can carry diseases like Hantavirus and Salmonella, so keep these tips in mind!
- Shield Your Hands: Wear disposable gloves to create a barrier between your skin and the contaminated surfaces, preventing direct contact.
- Guard Your Breathing: Use a dust mask to shield yourself from inhaling airborne particles.
- Freshen the Air: Open windows and doors to filter out harmful airborne substances.
- Keep Little Ones and Pets Away: Ensure children and pets aren’t in the room during the cleanup.
- Cleanse Thoroughly: After handling contaminated items, maintain rigorous hygiene by washing your hands meticulously with soap and warm water.
Step Two: Gather Your Supplies
You’ll need the right tools and cleaning materials to clean up after mice effectively. Here’s a checklist of items you’ll require:
- Disposable gloves
- Dust mask
- Plastic bags
- Paper towels or disposable wipes
- Disinfectant solution (mix one part bleach with nine parts water)
- Trash bags
- Broom and dustpan
- Vacuum cleaner with a HEPA filter (if available)
Step Three: Remove and Store Food and Dishes
Mice have an unfortunate reputation for nibbling on food items, posing a risk of contamination that you’ll want to counter proactively. To safeguard your food from future infestations, store it in airtight containers.
In cases where mice have compromised your food, we strongly recommend disposing of it. These unwelcome guests can swiftly transmit diseases that have the potential to make you unwell.
Step Four: Begin with a Preliminary Cleanup
Before disinfecting, perform a preliminary cleanup to remove any visible mouse droppings, urine, or nesting materials. Follow these steps to start cleaning up after mice:
- Douse the urine and droppings with a bleach and water mixture or another EPA-approved cleaning solution. Ensure the mess is thoroughly saturated, and leave it to soak for around five minutes.
- Wearing disposable gloves, carefully pick up droppings, urine-soaked materials, and nesting debris with paper towels or disposable wipes. Only attempt to clean or brush away droppings with proper gear.
- Place the contaminated materials in a plastic bag, seal it tightly, and dispose of it in an outdoor trash bin.
- Use a broom and dustpan to sweep up any remaining debris.
- Dispose of the sweepings in a sealed plastic bag as well.
Step Five: Disinfect the Area
Once you’ve removed the visible contaminants, it’s time to disinfect the area thoroughly. Rats and mice can harbor diseases in their feces, so it’s always important to take extra precautions while cleaning. Try out these tips to disinfect the affected area and finish cleaning up after mice:
- Prepare a disinfectant solution by mixing one part bleach with nine parts water.
- Wearing gloves and a dust mask, dip a clean cloth or paper towel into the disinfectant solution.
- Wipe down all surfaces that may have come into contact with mice, including countertops, floors, walls, and baseboards.
- Pay special attention to areas where mice were frequently seen, such as their entry points and nesting sites.
- Allow the disinfectant solution to sit for at least 10 minutes to kill any pathogens.
- After waiting, rinse the surfaces with clean water and dry them with disposable towels.
- Vacuum with a HEPA Filter
Use a vacuum cleaner equipped with a HEPA filter to ensure you’ve removed all traces of mouse debris and allergens from the affected area. The HEPA filter traps tiny particles and prevents them from being released into the air.
Once you’ve finished vacuuming, remove the vacuum bag or empty the canister carefully. Seal the bag or contents in a plastic bag before disposing it in an outdoor trash bin to prevent trapped particles from escaping.
Prevent Future Infestations & Avoid Cleaning Up After Mice
Cleaning up after mice is only part of the solution. To ensure that your home remains mouse-free, take these preventive measures:
- Seal all entry points, including gaps in walls, doors, and windows.
- Store food in airtight containers.
- Keep the kitchen and dining areas clean and free of crumbs.
- Regularly inspect and clean your home to catch any signs of mouse activity early.
- Consider setting up traps or working with a professional pest control service if the problem persists.
Cleaning up after mice may be a meticulous process, but it’s crucial for your health and the cleanliness of your home. By following these steps and taking preventive measures, you can ensure that your living space remains free from these unwanted guests!
But what should you do for an active infestation? Want a long-term solution to your mouse problem?
Reach out to us at Precision Pest & Home Services for quality rodent control! Our rodent exclusion process relies on top-notch baits and keen trapping techniques to find and remove these troublesome pests.
Don’t wait; contact us to eliminate your rodent problem today!
The post 5 Steps For Cleaning Up After Mice appeared first on Precision Pest & Home Services | Pest Control Experts in Greater Charleston, SC.